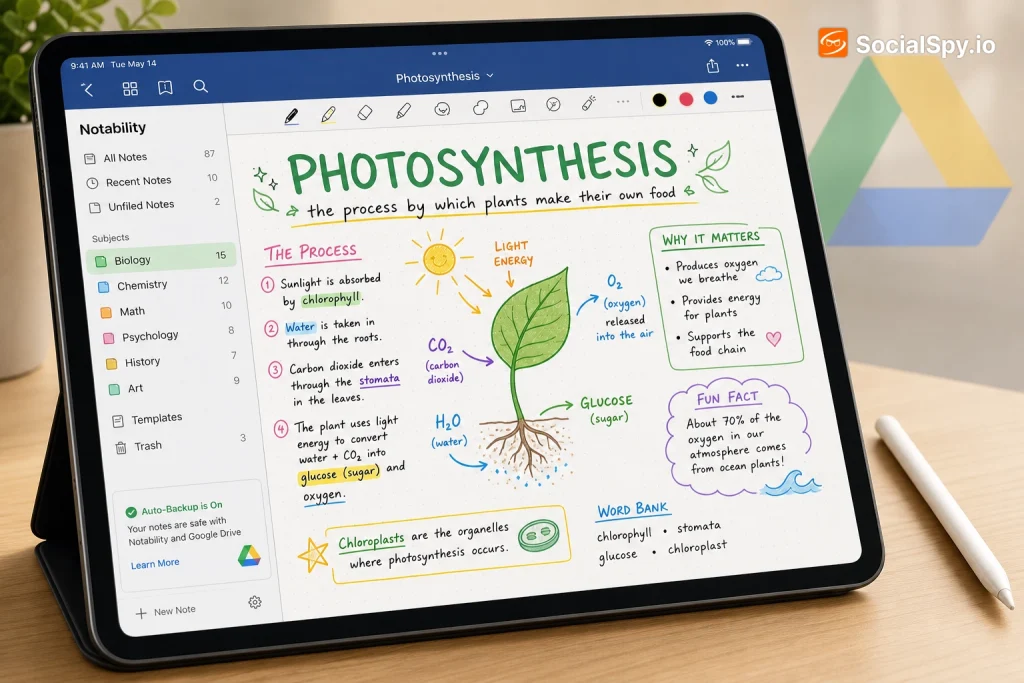
Notability remains one of the most popular handwriting and lecture-recording apps in the Apple ecosystem, but its relationship with Google Drive has always been a little more manual than users expect. Unlike Notability’s tight, automatic sync with iCloud, getting your notes into Drive requires either a scheduled backup setting or a manual export — and knowing which one to use (and how to set it up correctly) makes a real difference for students and professionals who live in Google’s ecosystem.
Why Notability and Google Drive Don’t Sync Natively
Notability, made by Ginger Labs, was built around Apple’s ecosystem first. Its real-time, note-by-note sync only works natively with iCloud Drive — that’s the backbone that lets a note stay in perfect sync across an iPhone, iPad, and Mac.
Google Drive was never part of that core architecture. Instead, Ginger Labs added Drive (along with Dropbox and Microsoft OneDrive) as a backup destination, not a live sync partner.
That distinction matters a lot in practice:
- iCloud sync is bidirectional and near-instant — edit on your iPad, see it seconds later on your Mac.
- Google Drive integration is essentially a one-way export pipeline — Notability pushes copies of your notes out, but it doesn’t pull edits back in.
- Files that land in Drive are typically static PDFs, RTFs, or Notability’s proprietary `.note` format, not live, editable documents inside Drive’s web viewer.
Industry reviewers who cover productivity apps consistently flag this as Notability’s biggest limitation for Android and Windows users, since there’s no way to actually open and re-edit a `.note` file outside the Notability app itself.
Understanding this upfront prevents a lot of confusion. If you’re expecting Google Docs-style real-time collaboration, that’s not what this integration does — it’s an automated backup and export tool.
Method 1: Manually Exporting a Note to Google Drive
This is the fastest way to get a single note into Drive right now, without touching any settings.
Step-by-Step
- Open the note you want to export inside Notability.
- Tap the Share icon (the box with an upward arrow) in the top toolbar.
- Under “Export,” choose your format — most people pick PDF (Annotated) for typed/handwritten content or Note if they want to preserve full editability for later re-import into Notability.
- Select Google Drive from the list of destination apps (if it doesn’t appear immediately, tap “More” to reveal additional share targets).
- Choose the destination folder inside your Drive account and confirm the upload.
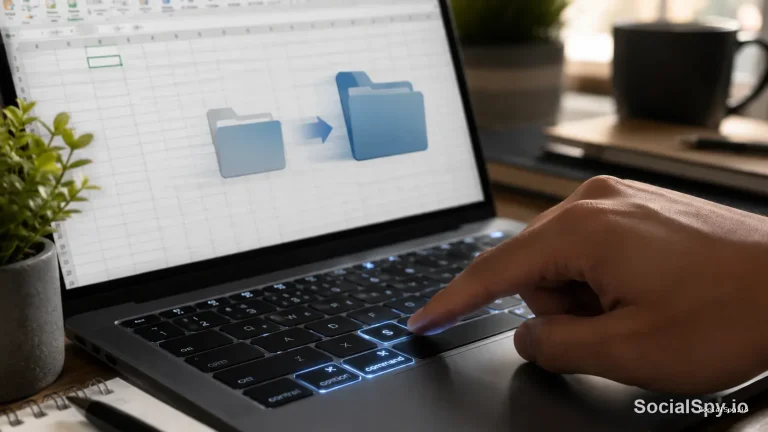
On iPad, this whole process can also be done with drag-and-drop: open Notability and the Google Drive app side-by-side in Split View, then drag the note’s file icon directly into a Drive folder. This works because iPadOS treats both as standard Files-compatible apps.
One catch: exporting a note with a lot of handwritten annotation and embedded audio can produce a large PDF file. Notability’s audio recordings, in particular, only transfer if you export in the `.note` format — a plain PDF export strips the audio entirely, keeping just the visual ink and typed text.
Method 2: Setting Up Automatic Backup to Google Drive
For anyone exporting notes regularly — a student backing up daily lecture notes, or a consultant archiving meeting notes — the Auto-Backup feature is the better long-term solution.
How to Enable It
- Open Notability and tap your account/profile icon or go to Settings.
- Select Auto-Backup.
- Choose Google Drive from the list of supported services (Dropbox and OneDrive are also listed here).
- Sign in with your Google account and grant Notability the requested Drive permissions.
- Choose your preferred backup format — PDF, Note, or RTF.
- Set the backup frequency; Notability typically runs this on a daily basis once enabled, backing up any note created or edited since the last backup.
Once configured, Notability automatically creates a dedicated folder in your Google Drive — usually named something like “Notability” or “Notability Backup” — and mirrors your in-app subject and divider structure inside it. That means if you’ve organized your notes into subjects like “Biology 101” or “Q3 Client Meetings,” those same folder names will appear in Drive.
A key limitation worth flagging: Auto-Backup only pushes files outward. If you delete a note inside Notability, the backed-up copy in Google Drive is not automatically deleted — you’ll need to clean up Drive manually.
Choosing the Right Export Format
The format you pick changes what actually survives the trip to Google Drive. This is where a lot of users get tripped up, ending up with a backup that’s missing the one thing they actually needed (usually the audio).
| Format | Best For | What Gets Preserved | Editable Later? |
|---|---|---|---|
| PDF (Annotated) | Sharing, printing, reading on any device | Handwriting, typed text, images | No — flattened, view-only |
| Note (.note) | Full backup / restoring into Notability later | Handwriting, audio, typed text, all layers | Yes, but only if reopened in Notability |
| RTF | Extracting typed text into another app (e.g., Google Docs) | Typed text only | Yes, in compatible word processors |
| Image (JPEG/PNG) | Single-page visual sharing | One page as a flat image | No |
For most students recording lectures, the Note format is the only one that keeps the audio-syncing feature intact — the ability to tap a word in your notes and jump to that exact moment in the recording. Export as PDF, and that functionality disappears entirely; you’ll get static ink on a page and nothing else.
If your goal is actually turning handwritten or typed notes into an editable Google Doc, RTF is the more useful export, though it strips out any handwriting entirely and keeps only typed text and basic formatting.
Common Problems and How to Fix Them
Even with the steps above, a handful of issues come up repeatedly in user forums and support threads.
“Google Drive doesn’t show up in my Share Sheet”
- Make sure the Google Drive app is installed on your iPhone or iPad, not just accessible through a browser — Notability’s share sheet only lists apps that expose an iOS share extension.
- Check iOS Settings > Notability > and confirm the app has permission to access other apps’ share extensions.
- Restart both apps; a stale share sheet cache is a common, if unglamorous, culprit.
“My backup hasn’t run in days”
- Auto-Backup requires an active internet connection and enough free space in your linked Google account.
- Re-authenticate your Google sign-in under Settings > Auto-Backup — Google’s OAuth tokens can expire, especially if you changed your Google account password recently.
- Confirm you haven’t hit Notability’s note-count or storage limits tied to your subscription tier.
“I can’t open my .note file from Drive on my Windows laptop or Android tablet”
This one has no real workaround — `.note` is a proprietary Ginger Labs format only readable inside the Notability app itself. If cross-platform access matters, always keep a PDF export as your Drive backup format, even if you also keep `.note` files for archival purposes.
Best Practices for Organizing Notes Once They’re in Drive
Getting notes into Google Drive is only half the job — keeping them usable is the other half. A few habits make a real difference over a semester or a year of accumulated notes.
- Mirror your Notability subject/divider structure in Drive folders manually if Auto-Backup’s automatic naming isn’t granular enough for you.
- Use Google Drive’s built-in search on exported PDFs — Drive can OCR-scan handwritten and typed PDF content, meaning even scanned handwriting becomes partially searchable.
- Set a recurring calendar reminder to manually export critical notes (exam prep, signed contracts, meeting minutes) even if Auto-Backup is enabled, as an extra safety net.
- Rename exports immediately — Notability’s default export filenames are often just the note title and date, which gets messy fast across dozens of files.
- Separate audio-heavy notes into their own Drive folder kept exclusively in `.note` format, since those are the ones you’ll actually need to reopen in the app later.
For readers who care broadly about how Google is expanding automation and account permissions across its product line, it’s worth noting this fits a wider pattern — see how Google Maps adds agentic features, including food ordering and hotel bookings for another example of Google building more automated, permission-based workflows into everyday tools. The same OAuth-based trust model that lets Notability write files into your Drive account is worth understanding, especially given how often third-party apps request broad account access — a topic covered in Google says hackers are calling financial firm employees to hack and extort victims, which is a good reminder to periodically audit which apps have access to your Google account.
Conclusion
Notability’s connection to Google Drive is a backup pipeline, not a sync engine — and treating it that way from the start saves a lot of frustration. Use manual export for one-off sharing, Auto-Backup for ongoing peace of mind, and always double-check your format choice based on whether you actually need that audio recording preserved. The app isn’t going to give Drive users the same seamless experience as iCloud subscribers get, but with the right setup, your notes end up just as safe — and considerably more accessible across Windows, Chromebook, and Android devices than they’d otherwise be.
FAQ
No. Files exported from Notability into Google Drive — whether PDF, RTF, or `.note` format — are static copies. Any edits need to happen back in the Notability app on your original note, then re-exported if you want an updated copy in Drive.
No, Auto-Backup to Google Drive is included with both the free and paid tiers of Notability, though free-tier users may hit note-count limits that a Notability Plus subscription (currently priced around $14.99 per year) removes.
Only if you export or back up using the `.note` format. PDF, RTF, and image exports strip out audio entirely, so if audio-synced playback matters to you, make sure your Auto-Backup format is set to Note, not PDF.