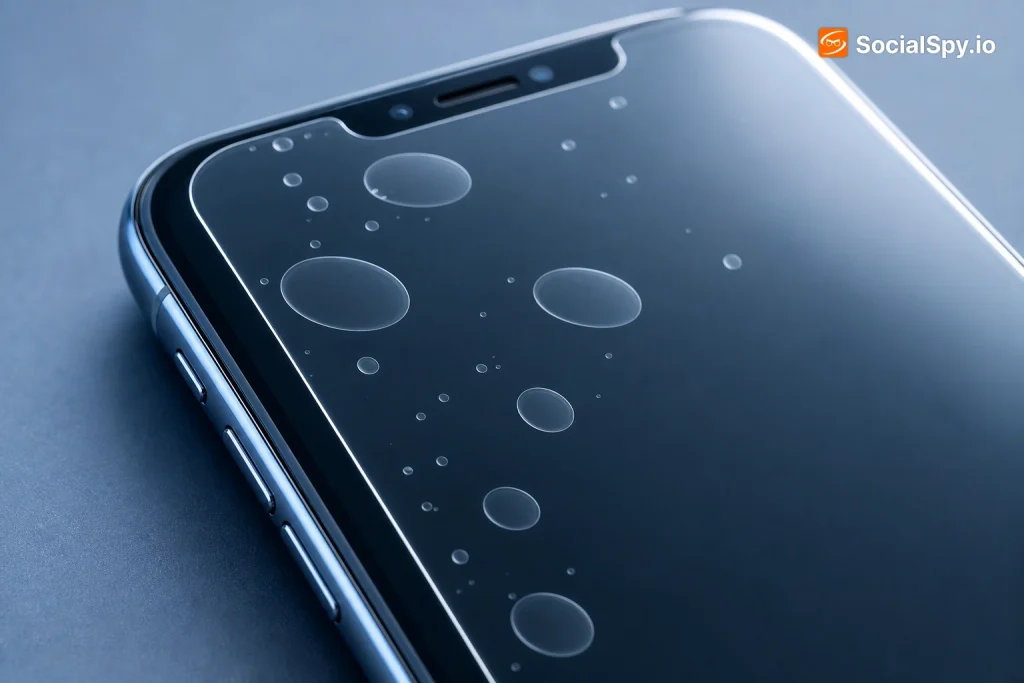
Air bubbles trapped under a screen protector aren’t just an eyesore — they can distort touch sensitivity, create weird glare in photos, and make you question whether you installed the thing wrong. The good news is that almost every bubble problem has a fix that doesn’t require buying a new protector.
Why Screen Protector Bubbles Happen in the First Place
Bubbles form for a handful of very specific, very fixable reasons. Understanding the cause tells you which fix will actually work instead of wasting time on the wrong technique.
- Dust or lint under the adhesive — the most common culprit, especially if you installed it outside a clean bathroom or “dust-free zone.”
- Trapped air pockets — happens when the protector is laid down too fast instead of rolled on gradually.
- Uncured adhesive — tempered glass protectors use a liquid or gel adhesive layer that needs time to fully bond, and small bubbles during the first day are often just the curing process working itself out.
- Curved edges (Edge-to-Edge or 3D protectors) — bubbles cluster near the curved sides of phones like the Samsung Galaxy S25 Ultra or iPhone 16 Pro Max because the adhesive struggles to conform to the curve.
- Case interference — a case that’s slightly too tight can push down on the protector’s edges and force air toward the center.
Industry repair technicians note that roughly 70-80% of new-install bubbles resolve naturally within two days without any intervention at all — patience is often the cheapest fix.
The Wait-It-Out Method (Best First Step)
Before grabbing tools, give the protector time. Adhesive-based tempered glass, in particular, is engineered to self-level.
- Leave the phone screen-up, untouched, in a room-temperature spot away from direct sunlight or AC vents.
- Avoid pressing on the screen or wiping it repeatedly — every touch reintroduces micro air pockets.
- Check back after 12 hours, then again at the 24-hour mark.
- If bubbles remain after 48 hours, move to manual pressure or heat methods below.
This is genuinely the manufacturer-recommended approach for most premium tempered glass brands, including ZAGG, Spigen, and Belkin. Rushing the process with aggressive pressing in the first few hours is actually the number-one reason people end up with permanent bubbles or cracked glass.
Manual Pressure Techniques That Actually Work
If waiting hasn’t solved it, controlled pressure is your next move. The key word is controlled — random poking makes things worse by pushing air sideways into new spots instead of out through the edge.
Squeegee or Card Method
- Use the plastic squeegee that came in the box, or a firm object like a credit card wrapped in microfiber cloth.
- Start at the center of the bubble and push outward toward the nearest edge in one smooth motion.
- Repeat in overlapping strokes, always moving toward an edge, never in circles.
- Apply firm, even pressure — too light does nothing, too aggressive can crack glass protectors.
Finger and Cloth Method
For smaller bubbles near the edges, a clean microfiber cloth wrapped around your fingertip works well. Press down and drag toward the nearest border repeatedly rather than in one single stroke. This is safer for plastic film protectors, which flex more easily than tempered glass.
| Method | Best For | Risk Level |
|---|---|---|
| Squeegee/card push | Large center bubbles | Low if done gently |
| Finger + cloth | Small edge bubbles | Very low |
| Heat + pressure | Stubborn adhesive bubbles | Medium (heat control matters) |
| Full removal + reinstall | Persistent/multiple bubbles | Low but time-consuming |
Using Heat to Loosen Stubborn Bubbles
Heat softens the adhesive layer just enough to let air escape without lifting the whole protector. This works especially well on curved-edge glass where bubbles like to hide.
- Set a hair dryer to low heat, low fan speed.
- Hold it 6-8 inches from the screen and move it in slow circles for 10-15 seconds over the bubbled area.
- Immediately follow with the squeegee or cloth method while the adhesive is still warm and pliable.
- Let the phone cool for a few minutes before checking results.
Never use a hairdryer on high heat directly against the screen — it can warp plastic film protectors or, in rare cases, affect the phone’s own display adhesive underneath. A word of caution: this heat trick is far less effective on privacy screen protectors, since their extra polarizing layer tends to trap air more stubbornly than standard clear glass.
When to Just Remove and Reinstall It
Sometimes bubbles aren’t really air — they’re trapped dust particles that no amount of pressing will push out. If you can see a tiny dark speck at the center of a bubble, that’s your sign to start over.
- Peel slowly from one corner using a fingernail or piece of tape, lifting at a low angle rather than straight up.
- Clean the screen thoroughly with an alcohol wipe, then the dry cloth included in the kit, in that order.
- Use a lint roller or the provided dust-removal sticker on the adhesive side of the protector before reapplying.
- Realign using the tray or guide frame if one came in the box — most 2026-era kits from brands like Whitestone Dome and Amazon Basics include auto-alignment trays specifically to reduce dust-bubble issues on the first try.
- Lower one edge first, then slowly roll the rest down instead of dropping it flat — this pushes air out ahead of the adhesive contact point rather than trapping it underneath.
If you’re installing on one of the larger modern flagship phones, precision matters even more simply because there’s more surface area for dust to sneak in — something worth keeping in mind if you’re deciding between screen sizes when comparing which iPhone has the largest screen before your next upgrade.
Preventing Bubbles Before They Start
The best bubble fix is never needing one. A few habits during install make a bigger difference than any tool.
- Install in a bathroom right after a hot shower — the humidity settles dust in the air, reducing particles landing on the adhesive.
- Use painter’s tape as hinges on two edges before dropping the protector, so it lowers evenly instead of landing crooked.
- Wipe with the alcohol pad, wait 30 seconds, then wipe with the dry cloth — skipping the wait time leaves residue that causes micro-bubbling.
- Avoid touching the adhesive side entirely, even briefly — skin oils are a major hidden cause of bubbles that show up a day later.
- Match the protector to your case first — many bubble complaints trace back to a case lip pressing unevenly on the protector’s edge after the fact, not the install itself.
Camera and phone-review creators who film screen-protector install tutorials for TikTok and YouTube Shorts have leaned into this — it’s become one of those oddly satisfying niche formats, similar to the broader trend covered in how to get more views on short-form video without paying for ads, where slow, methodical process content consistently outperforms flashy editing. If you search “screen protector bubble fix” today, you’ll notice AI-powered search summaries increasingly pull directly from these short clips and how-to threads rather than long articles alone, which is part of a bigger shift in how people find quick fixes in 2026.
Conclusion
Bubbles under a screen protector are almost never a sign of a defective product or a ruined phone — they’re a mechanical, fixable side effect of trapped air, dust, or adhesive that hasn’t fully cured yet. Give it 24-48 hours first, because most bubbles vanish without you doing anything at all. If they don’t, controlled pressure with a squeegee, a light touch of heat, or a full clean reinstall will resolve the vast majority of remaining cases within minutes. The only scenario that truly requires a replacement protector is repeated cracking, a torn adhesive layer, or dust so embedded that no amount of cleaning removes it — and even then, that’s a $10-15 fix, not a phone problem.
FAQ
Give it at least 24 hours, and ideally 48 hours, before manually pressing or applying heat. Most bubbles from trapped air work themselves out naturally as the adhesive settles, and intervening too early is the most common reason people accidentally create permanent creases or cracks.
No — this is a persistent myth. Toothpaste is abrasive and can scratch the coating, while rubbing alcohol applied directly (rather than during a proper cleaning wipe-down) can break down the adhesive layer and cause peeling at the edges instead of fixing the bubble.
Sometimes temporarily, because the case lip applies light pressure, but it’s not a real fix — it often traps the air pocket permanently under the pressure point instead of pushing it out through an edge. It’s better to resolve the bubble first, then add the case afterward.