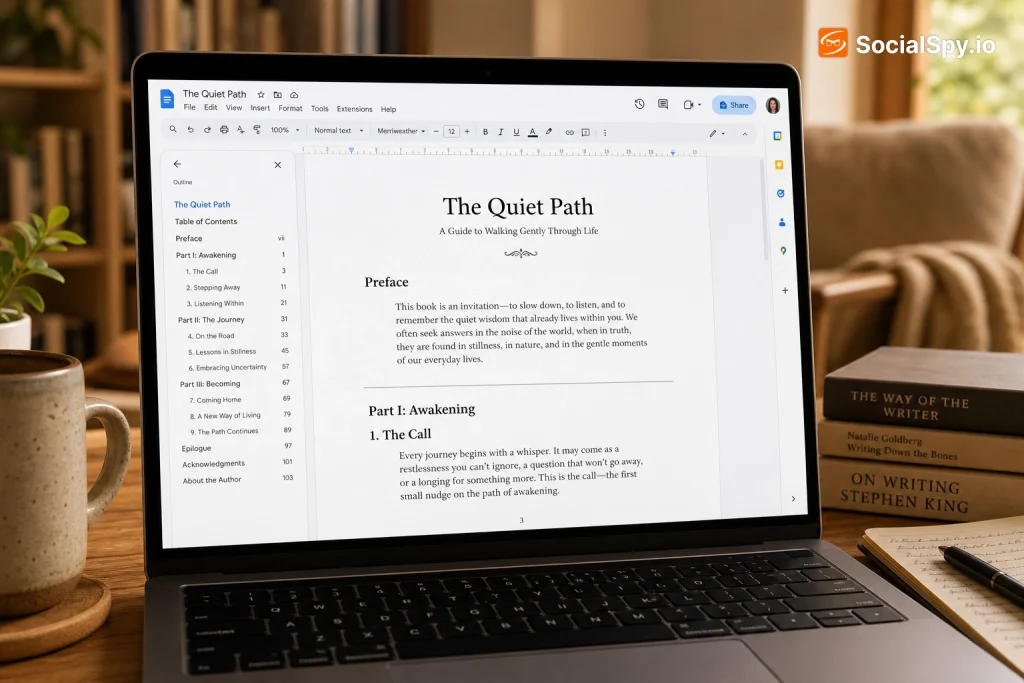
Self-publishing a book no longer requires expensive desktop publishing software. Thousands of indie authors now format entire manuscripts in Google Docs before exporting them straight to Kindle Direct Publishing, IngramSpark, or a local print shop. This guide walks through exactly how to set up trim size, chapter breaks, headers, and export settings so your file looks professionally typeset rather than like a stretched-out school essay.
Setting Up Your Page Size and Margins Correctly
Most authors skip this step and pay for it later when their print proof comes back looking wrong. Google Docs defaults to standard 8.5×11-inch letter paper, which is not a real book trim size. You need to manually change it before typing a single word of your manuscript.
Here’s how to set a proper trim size:
- Go to File > Page setup
- Under “Paper size,” select Custom
- Enter your trim dimensions — most novels use 5×8 or 6×9 inches
- Set margins between 0.75 and 1 inch on all sides, adding extra “gutter” space (0.125–0.25 inch) on the binding edge if printing physically
- Click Set as default if you’re starting a new document from scratch
Industry formatting guides for KDP and IngramSpark commonly recommend a minimum 0.375-inch margin on non-binding edges, but most designers push it closer to 0.75 inch for readability and white space.
Getting this wrong means your interior file gets bounced back by the print platform’s automated checker, adding days to your publishing timeline. It’s worth double-checking against your specific publisher’s trim size chart before finalizing.
Building a Consistent Style System with Headings and Fonts
A book manuscript needs exactly three or four text styles used consistently throughout: body text, chapter titles, section breaks, and maybe a subtitle style. Google Docs’ built-in Styles menu (the dropdown that usually says “Normal text”) handles this far better than manually bolding and resizing text chapter by chapter.
Recommended Style Setup
| Element | Style to Use | Typical Font/Size |
|---|---|---|
| Body paragraphs | Normal text | Garamond or Georgia, 11–12pt |
| Chapter titles | Heading 1 | Serif font, 18–24pt |
| Section breaks (scene changes) | Bold centered text or Heading 3 | Same as body, small caps optional |
Once you apply Heading 1 to every chapter title, Google Docs automatically generates a clickable table of contents via Insert > Table of contents — invaluable for ebook navigation and for jumping around a 300-page draft while editing.
A few font notes matter here:
- Avoid sans-serif fonts like Arial for body text in print books — serif fonts (Garamond, Georgia, EB Garamond) read easier in long-form print
- Stick to one font family for body text throughout the entire manuscript
- Justify body paragraphs (Format > Align & indent > Justified) for a professional, print-like block edge
- Set line spacing to 1.15 or 1.5, never single-spaced, for readability
Using Section Breaks to Control Headers, Footers, and Page Numbers
This is where most first-time formatters get stuck. Books need different headers on different pages — often the book title on left-facing pages and the chapter title on right-facing pages, with no header at all on the title page or copyright page. Google Docs handles this through section breaks, not just page breaks.
Here’s the distinction that trips people up:
- A page break (Insert > Break > Page break) just pushes text to a new page — headers and footers stay identical across the break
- A section break (Insert > Break > Section break, next page) creates a new zone where you can assign unique headers, footers, and even page number formatting
To set this up properly:
- Insert a section break after your title page and copyright page
- Insert another section break before Chapter 1 begins
- Double-click into the header of the Chapter 1 section and uncheck “Link to previous”
- Now add your page numbers starting from this section (Insert > Page numbers > Start at 1)
- Repeat “Link to previous” unchecking for each new chapter if you want per-chapter headers
If you’re also working with academic-style manuscripts or nonfiction requiring citations, this is a natural moment to learn how to insert a footnote in Google Docs, since footnote numbering resets and formatting also interact with section breaks in ways that surprise first-timers.
Formatting Front Matter and Chapter Openings Like a Real Book
Front matter is the sequence of pages before Chapter 1 — and getting the order right instantly makes a manuscript look more legitimate to readers and to distribution platforms doing quality checks. Skipping pieces or putting them in the wrong order is one of the most common reasons IngramSpark or KDP reviewers flag a file.
Standard front matter order looks like this:
- Half-title page (just the book title, nothing else)
- Title page (title, subtitle, author name, publisher/imprint)
- Copyright page (© year, ISBN, rights statement, edition info)
- Dedication (optional, one short line or paragraph)
- Table of contents (auto-generated in Google Docs via Insert > Table of contents)
- Chapter 1
For chapter openings specifically, professional books use a consistent visual pattern rather than just typing “Chapter One” in bold. Consider:
- Dropping the chapter title 1/3 down the page using extra paragraph spacing before the Heading 1 text
- Using a consistent numbering style — either spelled out (“Chapter One”) or numeral (“Chapter 1”) but never mixing both
- Adding a decorative first-letter treatment or ornamental break symbol (many authors use a simple centered asterisk row ` *`) for scene breaks within chapters
A surprising number of self-published books get negative reviews specifically citing “hard to read” formatting rather than the writing itself — which underscores why this structural work matters as much as prose quality.
Exporting Your Manuscript for Print and Ebook Platforms
Google Docs exports differently depending on whether you’re heading to print-on-demand or ebook conversion, and using the wrong export settings is the single biggest cause of rejected files. The good news: the export process itself takes under a minute once your document is formatted correctly.
For print-ready PDF (KDP Print, IngramSpark):
- Go to File > Download > PDF Document (.pdf)
- In the export options panel, make sure margins are set to “None” — your document’s internal margins already handle spacing, and Google’s export margins will double them
- Check that page size matches document in the export settings
- Confirm the file has no stray blank pages by scrolling through print layout view before exporting
For ebook formatting (KDP eBook, Apple Books, Kobo), the process differs since ereaders reflow text rather than using fixed pages:
- Export as .docx instead of PDF (File > Download > Microsoft Word)
- Remove manual page breaks between short sections since ereaders ignore fixed layout anyway
- Keep the table of contents but know that Kindle’s converter often needs it rebuilt using their own tool after upload
| Output Type | Best Export Format | Key Setting to Check |
|---|---|---|
| Print (KDP Print/IngramSpark) | Margins set to “None” | |
| Ebook (Kindle/Kobo/Apple) | .docx | Remove fixed page breaks |
| Beta readers/editors | PDF or shared Doc link | Enable commenting access |
If you’re distributing an early draft to beta readers rather than exporting for publication, it’s often more efficient to just share the live Google Doc with comment access rather than re-exporting every revision — similar logic applies to building interactive Google Docs for students, where live collaboration beats static files.
Common Formatting Mistakes That Get Manuscripts Rejected
Print-on-demand platforms run automated file checks before a book goes live, and certain Google Docs formatting habits trigger rejections or embarrassing print results almost every time. Knowing these ahead of time saves a full review-and-resubmit cycle, which can add 3-5 business days per attempt.
The most frequent issues include:
- Using spaces instead of tabs/indents for paragraph indentation — this creates inconsistent spacing that looks fine on screen but misaligns in print
- Forgetting the gutter margin on the binding side, causing text to disappear into the spine on thicker books
- Double spacing after periods — a holdover typing habit that print typesetting doesn’t use and that creates visibly uneven text blocks
- Inconsistent chapter title formatting — mixing “CHAPTER ONE” in one spot with “Chapter 1” in another confuses the auto-generated table of contents
- Leaving tracked changes or comments unresolved before export, which can bleed into the exported PDF depending on sharing settings
Before finalizing, it’s worth running a full read-through in Print Layout view (not just the default editing view) since this most closely mimics how pages will actually break and paginate. Many authors also do a final pass checking that any tables — like a data appendix or comparison chart similar to how you might approach renaming columns in Google Sheets for clarity — are legible at the actual print trim size rather than just on a wide monitor.
Conclusion
Google Docs was never built as book design software, but its style system, section breaks, and clean PDF export make it a legitimately capable tool for self-publishers working on a budget. The difference between an amateur-looking file and a professional one almost always comes down to three things: correct trim-size page setup done before writing begins, disciplined use of Heading styles instead of manual formatting, and section breaks that give each part of the book its own header and page-numbering rules. Get those three fundamentals right, and the export step becomes trivial rather than a source of last-minute panic before an upload deadline.
FAQ
Yes, Google Docs can fully handle novel-length manuscript formatting including custom trim sizes, chapter styles, headers, footers, and page numbering through section breaks. Most self-published authors only need dedicated software like Vellum or Atticus if they want more advanced automated ebook styling, but a properly formatted Google Doc satisfies KDP and IngramSpark’s print requirements on its own.
The most common trim sizes for fiction are 5×8 inches and 6×9 inches, both set through File > Page setup > Custom paper size. Nonfiction and business books more often use 6×9 inches since it accommodates more text per page, while poetry and shorter fiction sometimes use smaller trims like 5.5×8.5.
This almost always happens because chapters are separated by page breaks instead of section breaks, or because the “Link to previous” setting wasn’t unchecked in the header/footer menu. Insert a section break before each new chapter, then go into that chapter’s footer and manually disconnect it from the previous section before setting your desired page number sequence.